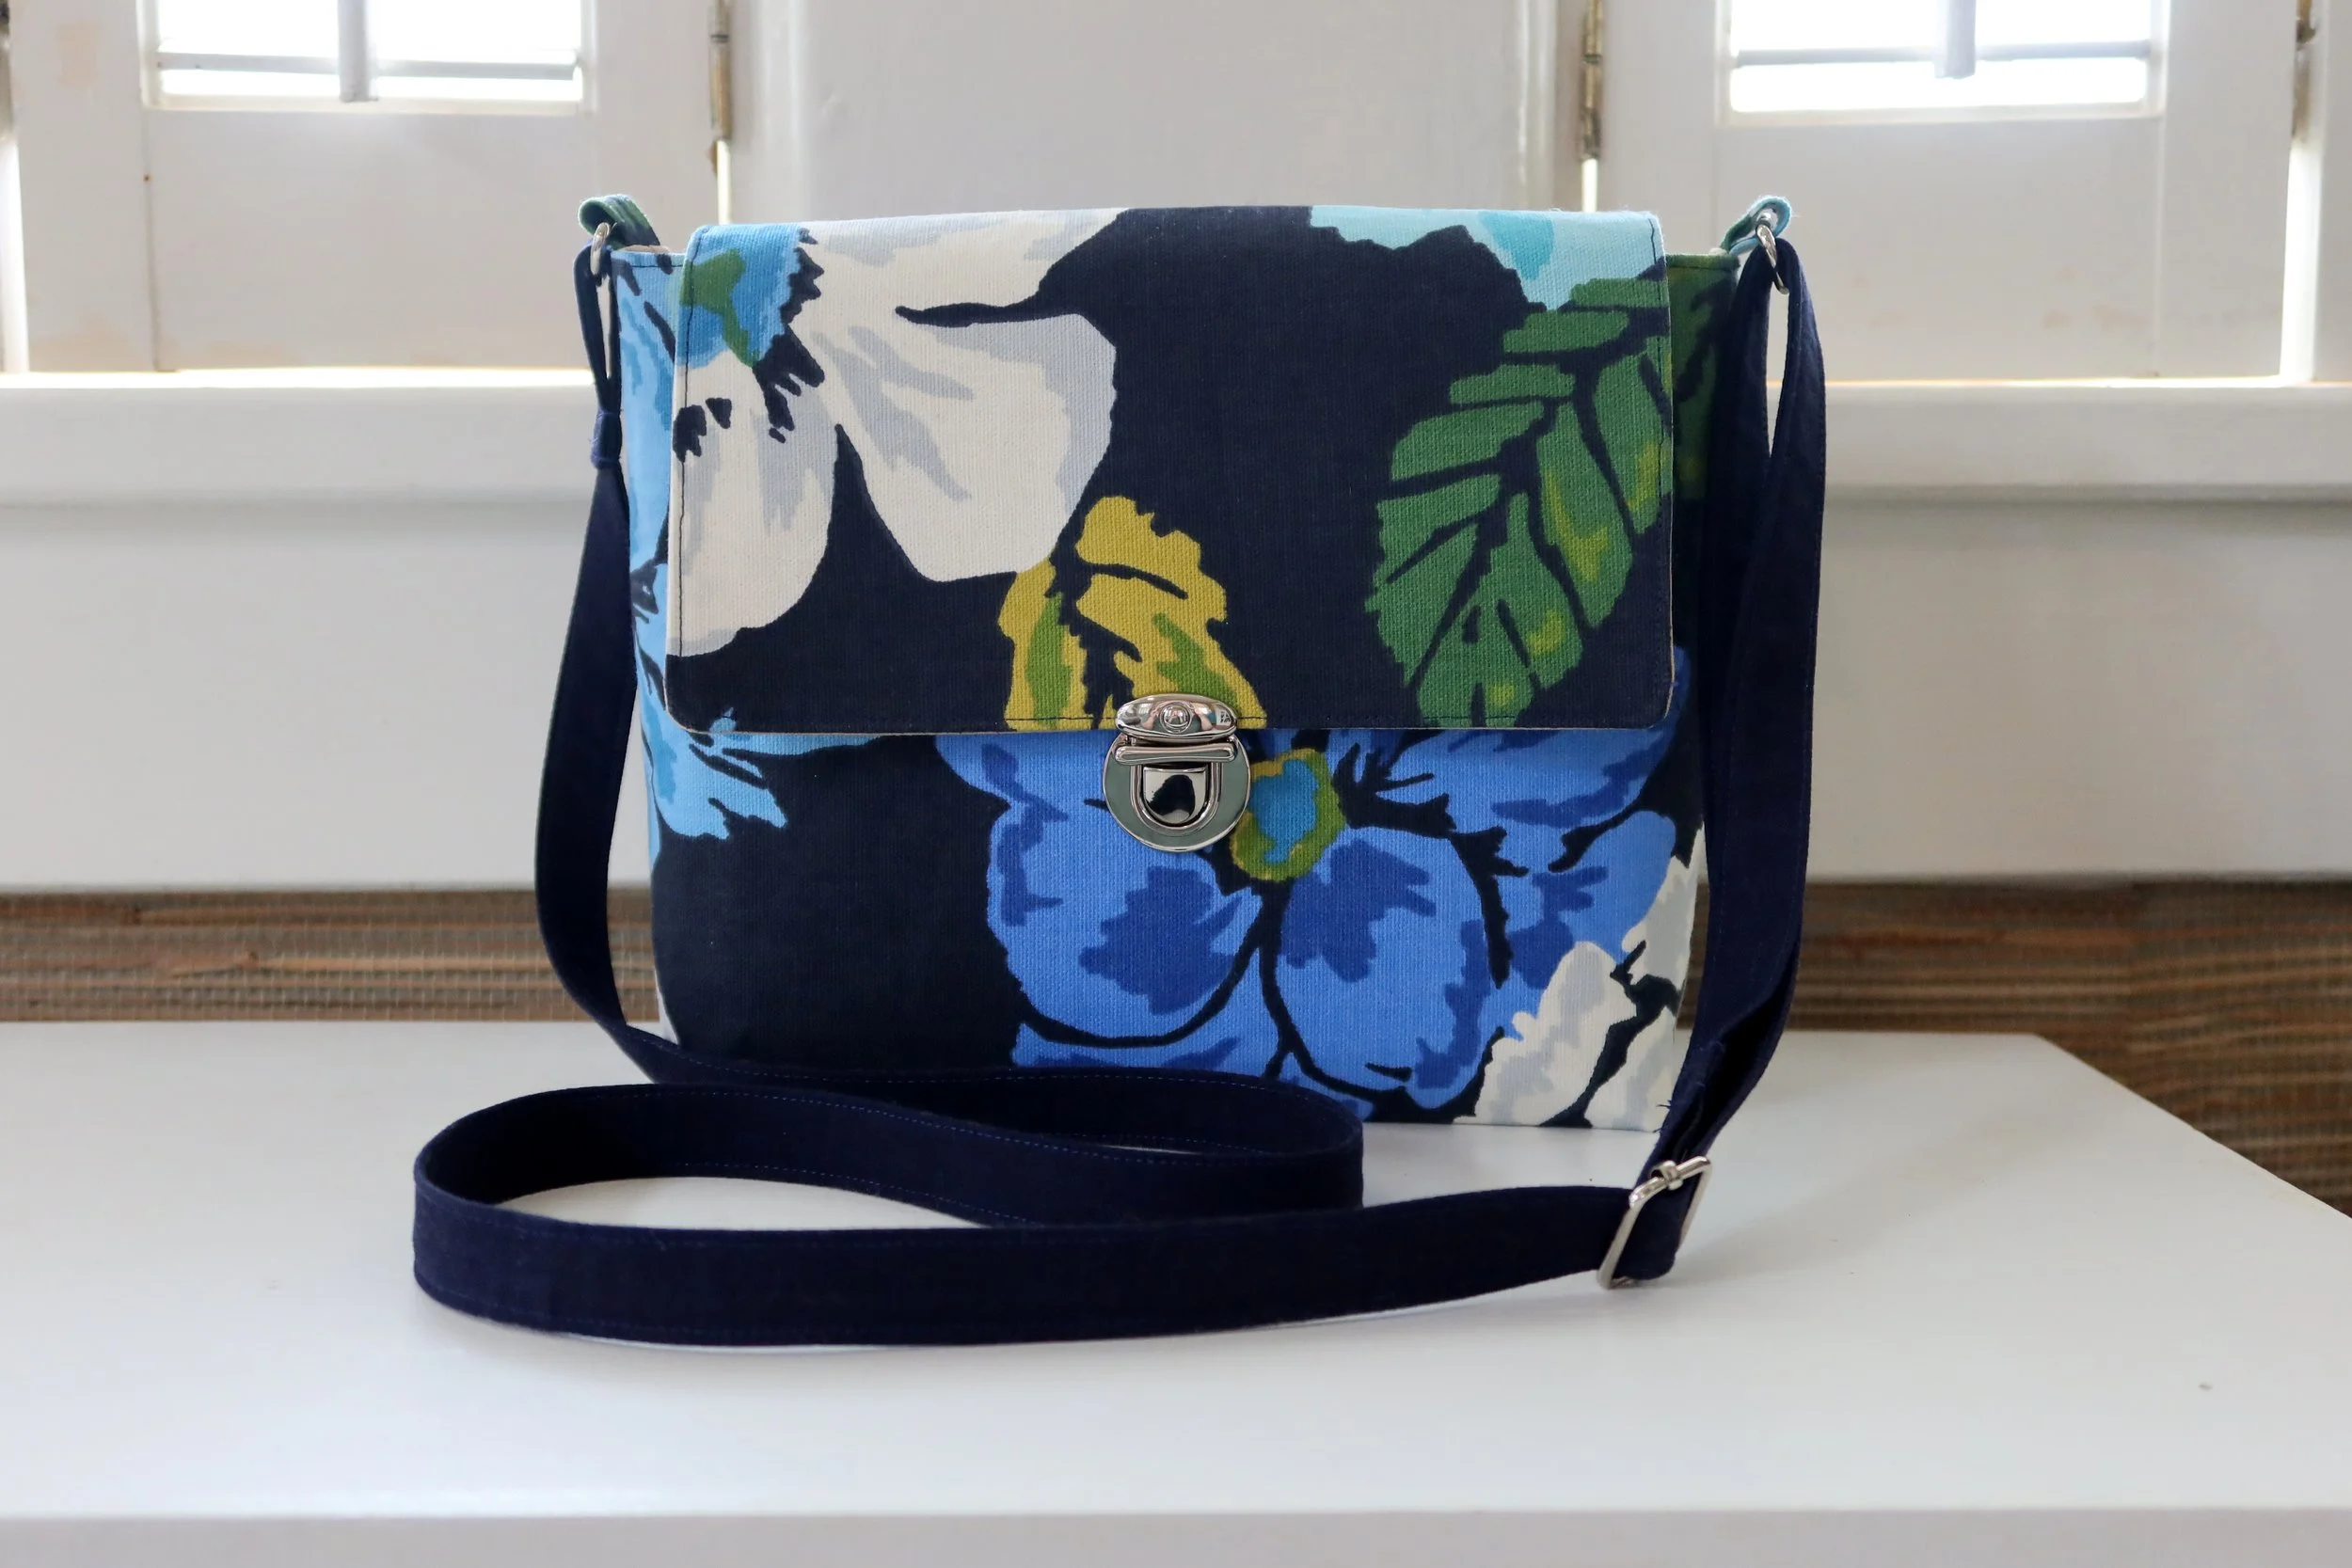
DIY Crossbody Bag Tutorial with Janome!
I am so incredibly excited to share this post! I've been working on this tutorial for a while and am so happy to finally share it! I absolutely love making bags, and know that bag making can be pretty intimidating, so I wanted to create an in-depth tutorial for one of my favorite style bags to make!
This tutorial is for a small lined crossbody bag with a push lock (or tongue lock) close, with a flat bottom, adjustable strap and exterior zipper! This bag is similar in style to the bags I designed for my etsy shop, but much quicker and easier to make! I've created a PDF tutorial filled with photos and instructions, and there's a video tutorial on YouTube!
One of the things I love most about this pattern is that it is totally customizable! Don't want an exterior pocket? No need to include it, or use the instructions to make an interior pocket! Want to make the straps removable? Stitch the strap ends to swivel hooks! You can curve the front flap into a half circle shape, and if you want, make the bag bigger or smaller by adjusting the measurements provided! This is a great bag to introduce you to bag making, or to get some more experience with bag hardware and zippers! (If you are looking for online spots for materials, I shop most hardware at Purse Supplies R Us on Etsy, zippers come from ZipIt, and Push Locks from Pacific Trimming!) The exterior fabric used in this bag is a large upholstery fabric swatch from my collection, and the lining and pockets are cotton.
I hope you love this bag! If you make it, let me know! I would love to see your version! Any questions, I am here to answer!
Get the PDF here!
Trish Stitched for Janome Crossbody Bag
Follow along in video format here!
Find other amazing sewing project on the Janome Blog!


