Orange Floral Top: Repair & Rewear
In August, I took a trip to Fab Scrap for some new bag fabrics. Drew and I went to the warehouse, where fabric is sold by the pound and a new section they had was the Mendables, which are racks that have sample garments from designers. These items may have holes, tears, writing, etc, all making them un-sellable. Fab Scrap takes these in and sells them by the pound! What I love about these pieces is that they are truly clothes that need TLC. This is one of the pieces I found at Fab Scrap, a beautiful top with the front cut. It looked like a simple fix, and a garment in my size, so all I wanted to do was repair it!

Whenever I believe a project will be quick or simple, I find it much easier to procrastinate getting it done. This top was no exception, as it took months for me to work on this! But I've been waiting on a hardware order before I can finish the jacket I'm making, so I thought this would be a great 'in-between' project.
First step was cutting open the neckline facings. I also ripped the seam of the shoulder, and the waistline to be able to move the material better. I was then able to completely cut the slits out, and straighten the cut.


I stitched the newly straightened line back into the neckline, and topstitched each side shut.

Just under 1" on each side was removed, meaning I had extra material on the top and in the waistband. Initially, I was going to gather the shoulder seam so I didn't have to open up the sleeve, but after experimenting, it didn't look how I wanted. I opened the top of the sleeve seam and pushed the extra fabric into the sleeve. I topstitched the shoulder seam, and re-stitched the sleeve after cutting off the excess.


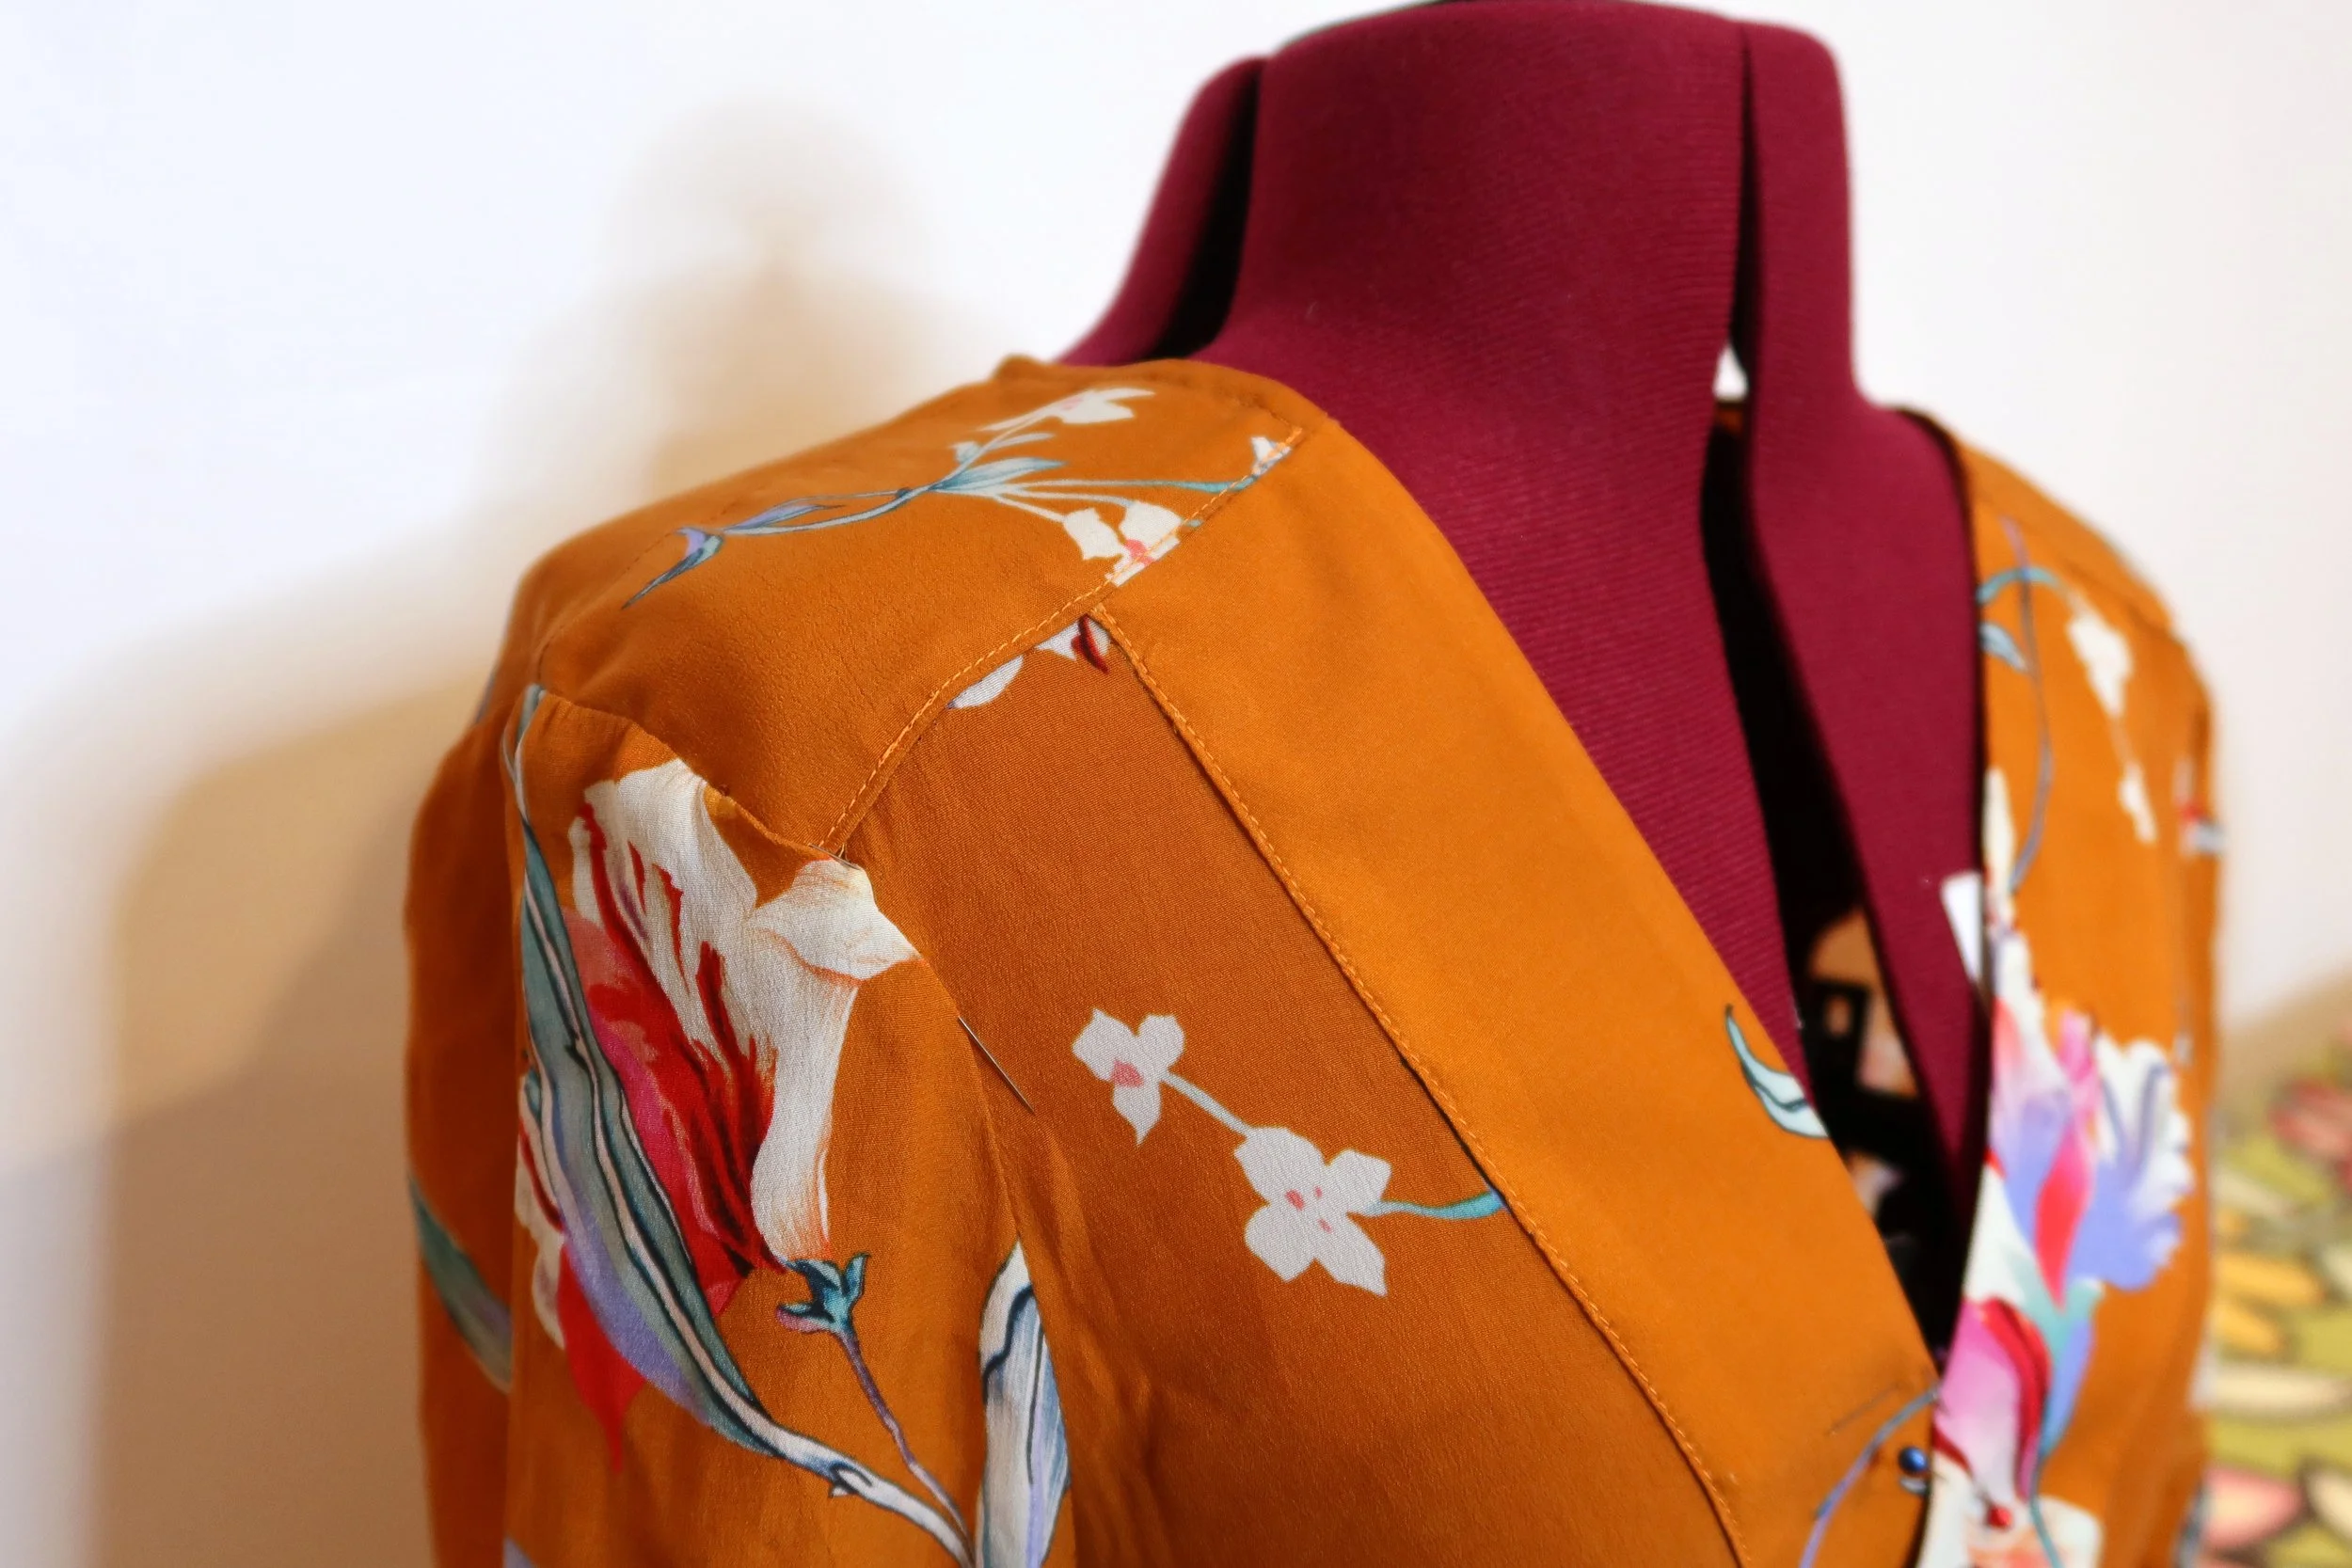

Next I pinned the new neckline in place, bringing up the "V", a bit higher than the original design. This had to be done several times, both on my body, and on my mannequin to be sure the best fit. It took some finessing to be sure the material would lay properly. Bringing the neckline too high up meant the material would pucker, however too low and I wouldn't be comfortable wearing it. After pinning, there was a bit of excess fabric from the neckline pieces that needed to be trimmed, similar to the sleeves. (sorry - forgot photos of the extra fabric!)
The next step was to re-gather the waistband to include the excess fabric. This top was designed to have a flowy-er bodice, so making the waistband a little smaller still left me with room to get in and out of the top. I also wanted to remove some of the length, since the top was just a bit long on my frame. Instead of re-hemming, I decided to remove the entire waist and re-gather it. I cut 1/2" off and re-gathered the material. The gathering was pretty annoying, and I had to re-do the waistline stitching several times to make the gathering even.


After the waistband was complete, I re-pinned the neckline one last time and topstitched in place. The final step was tightening the elastic on the wrist. I opened the wrist seam just enough to get to the elastic, and pulled it out a bit. I took about 1" out of each wrist elastic. I stitched the seam back up and this top was finished!

I was debating with myself if this was a mend/repair or a refashion. Ultimately, I kept the garment and design in tack, and this project was more about repairing than changing the look.


After completing this, I did do a little google search to find out about the designer, and what the final top looks like. Turns out this designer is sold at Anthropologie! I couldn't find this exact top, but I did find the print in another style! How cool! I also found this style top in different fabrics, so it's possible this was leftover fabric to create a new style. While I don't know the reason for the neckline being cut, I'm so thrilled it found its way to Fab Scrap, and eventually to me!


(And a photo of me shopping the racks at Fab Scrap!)

I really love how this piece turned out, and am happy I finally took the time to fix it.
I sometimes hate mending/repairing my own clothes. It can be a task that doesn't always feel fulfilling until after it is done and I get to wear my clothes again. I think many sewers have mending piles that take time to get to, because so often, new fabric is so much more fun to sew! Many of my mending projects turn into refashioning projects because I see it as a new way to look at the garment. Either way, it is so incredibly important to give these pieces another chance - the more clothing we can save from landfill, the better!
I have a few other pieces that I'm excited to repair, and while these posts aren't going to be exact tutorials for items in your repair pile, I do hope they inspire you to fix some of the projects you may have been putting off!